Insert objects into models or drawings. Dip your finger into a virtual paint pot to draw in that color.
Cad Forum How To Insert Framed Boxed Text Into Inventor Drawings
Click Insert and then select Insert Image.

. Start in a drawing sketch. The application for the object type opens so that. Start in a drawing sketch.
Click the drawing sketch. Click the drawing sketch. Click Insert and then select Insert Image.
Select Sketch off the Sketch Panel then the Surface or Plane you are going to use. Here is how you insert image in AutoCAD and draw over it. Browse your computer and find the drawing you want to insert.
Step 2 Type command IMAGE on the Auto CAD command box and then press Enter. 11 Then select the lines you have created hit CTRLC to copy open up an Inventor sketch and hit CTRLV to paste. Simply click the OK button to close.
Use the button at the bottom to wipe the screen clean. Or CTRL V keyboard command to paste the image into AutoCAD as an embedded OLE object. On the ribbon 3D Model tab Sketch panel click Create 2D Sketch and then click the planar face or work plane to set.
Now we can create our sketch symbol. This is how you would insert images in to Auto desk Inventor. Click Manage tab Define panel Title Block.
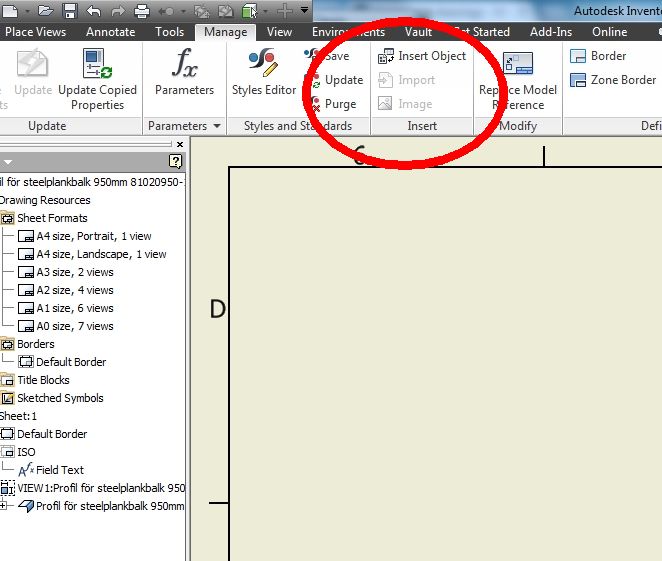
Step 1 Open the AutoCAD software by clicking on the AutoCAD icon provided as a shortcut on your windows. The empty background and borderes can be cropped. On the ribbon click Manage tab Insert panel Insert Object.
Include an image as a drawing background. At least I tested with Picasa and Windows Live Photo Gallery. For example in our title block there is a section that will be used to tell what.
This will help with surface modelling and also working from a sketch to help you create the model you want from image references. Now open your AutoCAD drawing. In the Insert Object dialog box choose the options to achieve the desired result.
Or choose paste from clipboard on your AutoCAD ribbon. Poke the screen to make dots. Click in the graphics window to.
We want only the required portion in the image. Then just pray that the next time you open the IDW the unconstrained parts of the views dont just float away. AutoCAD software will appear on your screen as shown below.
With the Paint Pic app you can. You could also open the picture in from the Windows Paint program. Select either the whole picture by using Ctrl A or select a portion of the picture by dragging a window over the area you would like to insert into your drawing.
Using Photoshop would be the first approach I would pursue. Be sure the shadow direction in your Inventor image matches the. Start in an active part sketch.
Crop the image to eliminate clutter. Click Insert and then select Insert Image. You can save the image as jpg jpeg or gif.
Drag your finger along the screen to draw a line. But how about we engineers who use AutoCAD. You will see a Sketch Symbols folder and right-click on that folder and click on Define New Symbol to create a new sketch symbol.
Now you can press ctrl V to paste the image. All you need to do is open the drawing in image viewer. 10 Then try using the PEDIT command polyline edit and select Spline if your lines are a little jagged.
Answered on 5 Jun 2013 0859 PM Answer as a tutorial. To create a file select the object type and select Create New. The cursor is attached to the upper left corner of the image.
This will convert them to a spline. Generally this method will give you this dialog box. Select the ACAD on the Insert Panel.
The best you could do with Inventor is to draw an empty box border in the sketch attaching all relevant notations to this box. Navigate to the picture file. Now go back to AutoCAD and simply Paste.
Any image viewer will do. The Import Options menu pops up if there were multiple layers in the imported drawing you can select which of the layers you want to bring across Click Next to view more options. Right click on the file and select edit.
Open a drawing and expand the Drawing Resources folder in the model browser. Then clipboard the image into the box and pull-to-fit the corners of the image to fit inside. Applied Software Adding An Image To Your Inventor Title Block Inventor How To Insert Image In Drawing Youtube Autodesk Inventor 2d Sketch Create Cfd Ninja.
Locate the image to add and then. A Dialogue box will appear on the screen as shown. How to extrude a jpg in Autodesk Inventor with AutoCAD Raster Design 2014.
Learn inventor basic tutorial for beginner how to insert image in drawing fast and easyinventorhowtoinsertimage. Since you have a renderer image of the object in Inventor with which you are satisfies I would google Photoshop Camera Match to find out how to insert the furniture image into a background photo of your choice. After you open it right click choose copy from context menu.
Save the image you want to trace on to your hard drive. Click the drawing sketch. Use CTRLC or the Copy button to place the partial image or whole image to the internal clipboard.
In the Open dialog box browse to the folder where the image file is located and then click Open.

Inventor 2019 Motor Cover Assembly Drawing Youtube

Import Autocad Drawings To Inventor Ketiv

How To Create Custom Sketch Symbols In Inventor Professional
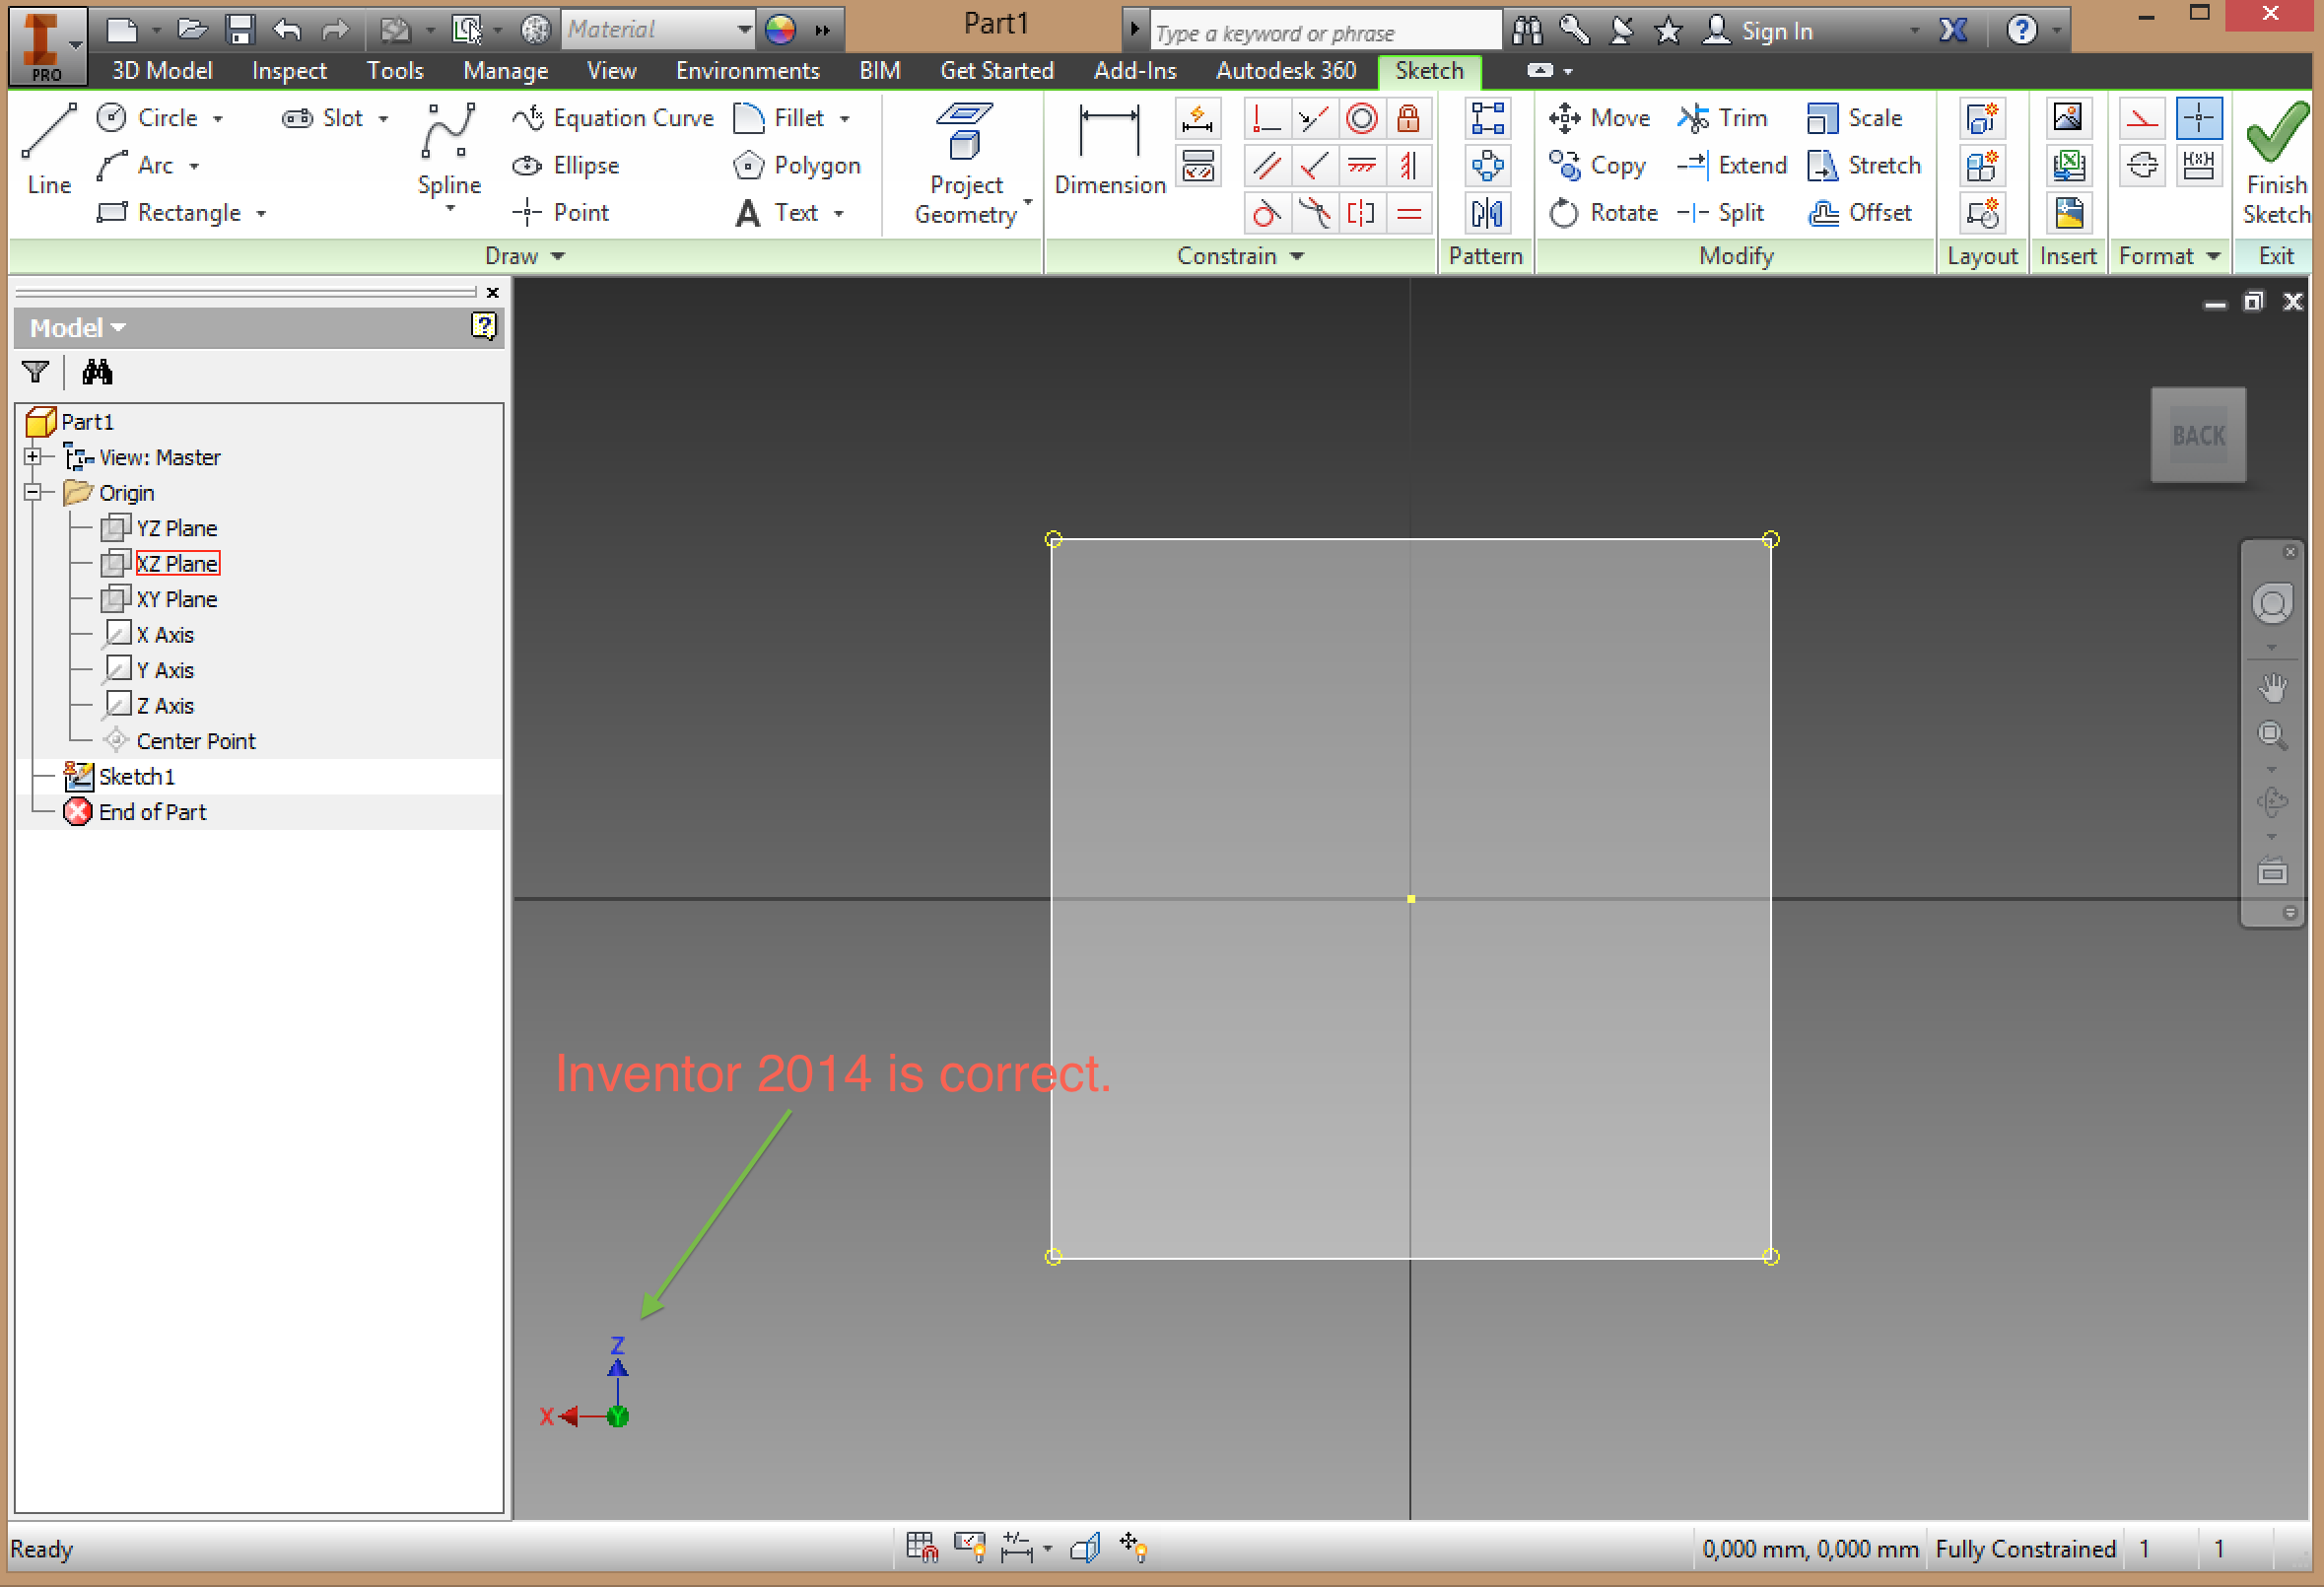
Inventor Sketch Orientation In Inventor Later Than 2014 Is Rotated When Creating New Sketches Inventor Autodesk Knowledge Network
Solved Inserting Images Into Idw Drawings Autodesk Community Inventor

Autodesk Inventor 2d Sketch Create Cfd Ninja

Inventor How To Insert Image In Drawing Youtube
Applied Software Adding An Image To Your Inventor Title Block
0 comments
Post a Comment